Thursday, 6 December 2012

Reindeer Portraits


Reindeer Portrait by Grade One student


My Grade One class painted these reindeer portraits this week!  I am so pleased with how they turned out!


Here is how we drew them:

Place a finger at the bottom of the paper and trace both sides to make the neck.
  
Using your opposite hand as a guide for size, draw a circle around your hand (not tracing) so that your oval is wider and taller than your hand.


Draw a line from the top of the head towards each of the top corners of your paper.


Draw ears at the top of the head pointing to the sides of the paper.

Draw a large horizontal oval at the bottom of the face for the nose.
Draw 2 vertical ovals at the top of the face for the eyes.


Add dots for the eyes and finish the antlers.
Draw a rounded square around the neck - there will need to be a bit of erasing here to hide the lines of the neck.

Finish the scarf.


We then used black oil pastels to outline our drawings and I had them paint the scarf, nose and the background.


Then next day we added a bit of peach pastel to the inside of our reindeers' ears, white to add details to the scarf, and went over our antlers and any other spots where we felt needed some more black outlining.  We used brown paint to finish the reindeer.


If you liked this post, check out some of my other directed drawing lessons:


Saturday, 1 December 2012

Sponge Print Poinsettias


Here is a great December art project to do with any primary class.  There are many versions of this project on Pinterest and art blogs.  Here are some of the final products done by my Grade One class.


This project does require a bit of prep work but it is absolutely worth it. 

Prep: You will need to buy a couple of packages of sponges and then cut them into petal shapes for the poinsettias (the sponges can be reused in the spring for other plant and flower art projects!).  I cut enough so that each child would have their own.  You do not have to worry about them looking 'perfect' as the kids will often use their entire hand to press the sponge to the paper and they create their own organic shape.

Directions:

1. Have the students draw 2 yellow dots on their paper.  I got them to put their left hand on the top left corner, point their thumb to the right, and draw the dot sitting on their thumb.  Then they put their right hand on the bottom right hand corner and drew the dot touching their thumb (not sticking out this time).  I did this to try to space the poinsettias far enough apart that they wouldn't overlap too much (a little is great) but not put them too far apart that too much of the flower is off the paper.

2. Students used a paintbrush to paint the red paint onto their sponge.  Using the yellow dots as a guide they pressed the sponge onto their papers so that each petal was radiating from the dot.  They continued all the way around the dot, and some were able to get 2 prints from one paint application. 

3. Then they did the same to the other dot.

4. When they were done they had to wash their own sponge and do their best squeeze as much water out as possible.  They then repeated the same printmaking process with dark green paint to add leaves around their poinsettias.  Then were then left to dry.

5. The next day we used a light green oil pastel to draw veins and texture onto the leaves and coloured around the poinsettia flowers.

6. The final touch was adding yellow or gold dots of glitter glue to the center of each flower. 


Wednesday, 21 November 2012

Raccoons


My class has been learning about nocturnal animals and last week we focused on raccoons.  I actually lost sleep over this particular project!  I just couldn't decide what approach I was going to take!  I originally thought I would have the kids paint their drawings grey and then do the pastel details on top after the paint was dry.  Then I couldn't decide if I should do just a close-up of the face or a full body.  I had to include that tail though, so it couldn't just be the face.  After googling many different raccoon pictures for some inspiration I came across this idea from Apex Art.  I modified it a bit by doing our drawings right onto brown construction paper and had the kids colour in their details with oil pastels.


Tuesday, 30 October 2012

A Different Kind of Pumpkin Patch


I just had to add these decorated pumpkins to my blog.  Instead of going to the pumpkin patch each year, our Grade One and Grade Two students enjoy a mock pumpkin patch on our school playground.  One of our teachers goes to a local farm and is able to get 100 small pumpkins for about 50 cents each. The pumpkins are scattered around the playground and each class takes turns heading out for each child to pick out the perfect pumpkin.  It takes only a few minutes but the kids are overjoyed by the surprise. 

This year my class painted their pumpkin with either silver or "gold" acrylic paints using a foam brush.  These are actually bronze and not gold, as I was low on gold.  However, I prefer the bronze anyway...  The stems are painted with black acrylic paint.


When dry the students took turns painting white glue onto their stems and sprinkling black glitter on them.  I bought the glitter on sale at Michaels.  It comes in a test-tube looking container and actually looks more like little crystals than glitter flakes.


We then wrapped a black pipe cleaner around a pencil and glued these to the pumpkins.


I love the way these turned out and it was so funny how many adults came into the room to ask for instructions on how to make them for their home.

For more great pumpkin ideas, go here...The Great Classroom Pumpkin Project Linky

Have a happy and safe Halloween!!!

Monday, 29 October 2012

Going Batty!!!

Here is one more Halloween post for the year.  I saw this this adorable Halloween bat print on Pinterest and was instantly inspired to do it with my Grade One class.  It reminds me of a cartoon bat you would see in an old classic Bugs Bunny cartoon...

We were able to complete these in one art class.  Here are a few samples of our work:


First we created the background sky with chalk pastels.  Students were instructed to use 2 different colours from the set choices of different shades of blues and purples.   After using their fingers to blend all the chalk together we used black oil pastel to draw our bats.  They were encouraged to press hard enough to create thick solid lines and a round shape for the head.

Next they used their fingers to pull the pastel away from the shape to create a fuzzy effect.  Then they did the same to the lines in the wings.  Some were more successful at this than others but they all look adorable.


Finally they used the end of a pencil crayon dipped in white paint to print eyes.  A black sharpie was used to finish the eyes when the paint was dry.

Saturday, 20 October 2012

Going "Green" for Halloween!


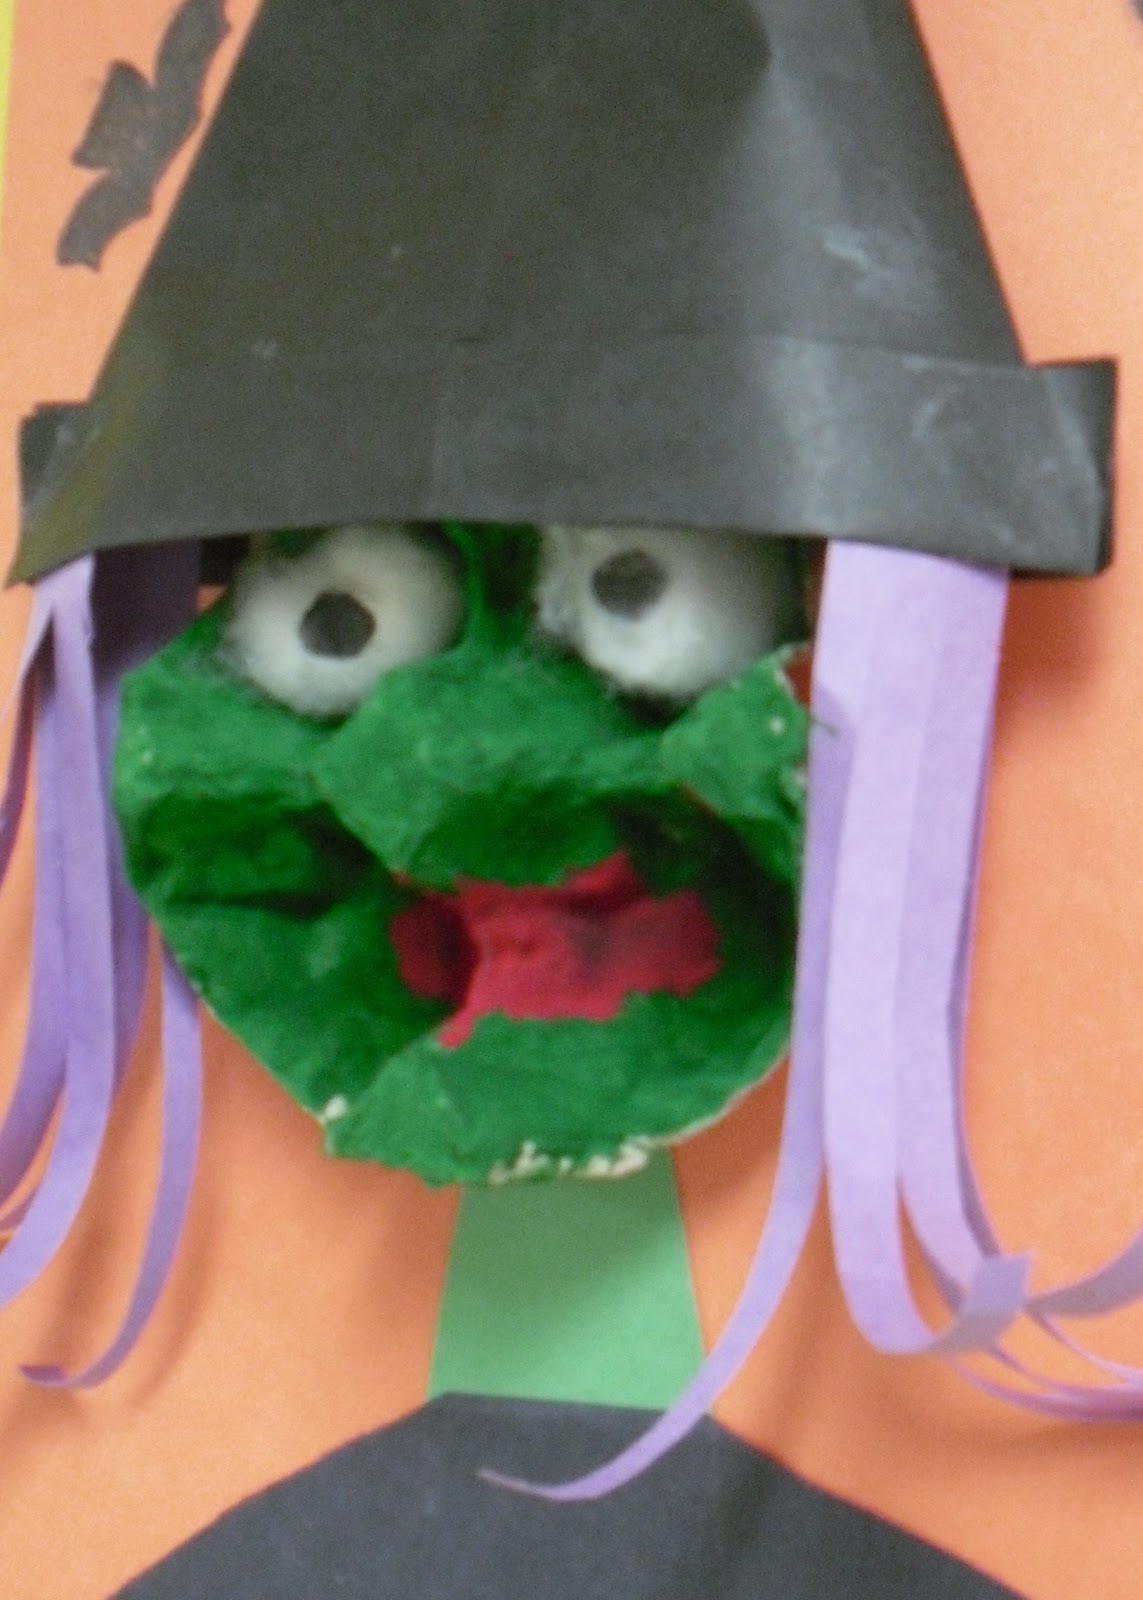
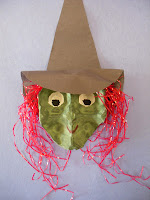
Last week we made these cute witches out of egg cartons.  This is very similar to an Halloween craft I did 2 years ago.  I found my crumpled up head sample in my Halloween box.  Here is the witch from the original lesson:


The finished witches had bodies as well but I only kept the sample of the head.  Although I recieved many compliments I thought I would never do them again because the hair and the hats were quite an ordeal to attach and I found I did too much of the craft for the kids. 

Then I saw this adorable scarecrow on Pinterest
and thought I could apply some of the same ideas to my witches.

I precut all the egg cartons.  By cutting the bottom two egg cups at an angle it created
the perfect chin for our witches.

The hats were made by folding simple paper boats.  However, I found that they just were not pointy enough for my witches so I added an extra fold to sharpen up the hats a bit.  This was the hardest part as origami is not a developed skill in most grade ones.  But they managed with a little help.


The hair was made out of construction paper and glued to the inside of the hats before the heads were tucked in.  We glued in jumbo cotton balls and scrap pieces of black construction paper for eyes.  After all the pieces were glued to the construction paper background we stamped bats around the head for the final touch.


LinkWithin

You May Also Like

Followers