Showing posts with label winter. Show all posts

Monday, 2 January 2017

Stained "Glass" Trees


Here is an easy paper activity to do with your classes.  I got this idea from  HERE.  This activity could easily be done with the trees all in white and tissue in different cool colours for a fabulous winter window display - maybe next year for me! 


Students first cut out the tree template from 9 X 12 inch green card stock.  Then they glued pre-cut coloured strips of construction paper to one side of the tree.  They trimmed off any parts that showed past the tree on the outside.  They then added dots of white glue all around the template and strips and laid down a piece of green tissue paper.  When dry, they carefully trimmed off the excess tissue.


I did limit the kids to 6 or 7 strips though I don't think that's necessary: however, I do recommend that they use no less than 6.


Wednesday, 6 January 2016

Winter Sky Mosaics


This was a fun art project my Grade 1 class did with their Grade 7 buddies.  The idea for this project came photos uploaded on Pinterest, 

This project was completed over a couple of days.
Day 1: We divided and painted a white sheet of paper various shades of blue that the students mixed themselves.

Day 2 and 3:  After gluing on a circle for the moon, we cut strips of white paper into smaller pieces and worked our way around the moon.  We then glued and worked our way out from the moon creating the mosaic - going from lighter to darker.  We cut and glued one shade of blue at a time.

Day 4: Our big buddies drew an interesting tree shape for the Grade Ones to cut out and glued them, along with the ground, onto the mosaics.


Sunday, 1 February 2015

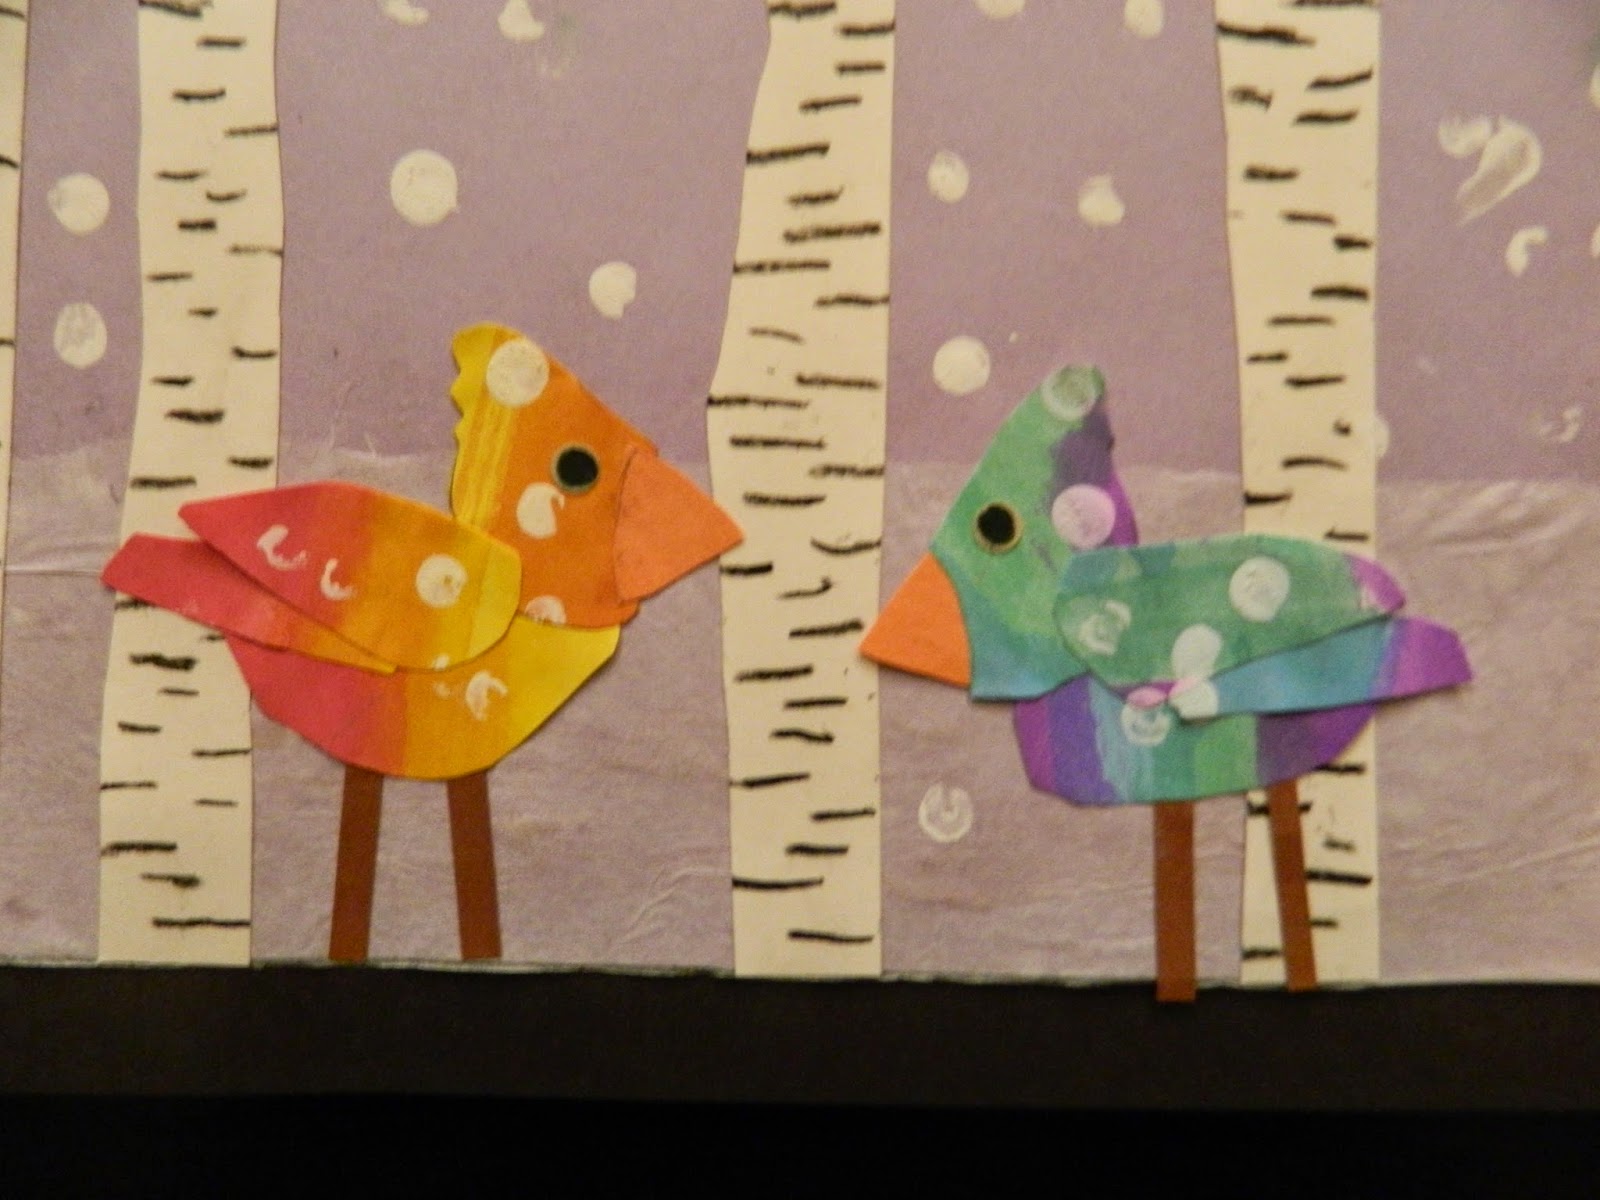
Winter Birds


Here is an adorable winter collage activity my Grade Ones did with the help of our Big Buddy class.  You can find all the instructions, including printable templates, at


I HEART CRAFTY THINGS provides two versions for templates to create the birds.  One has the birds in one piece (other than the beak) and the other has them in multiple pieces.  We used the multiple pieces version here.  Putting all the bird pieces together would have been way too difficult for my little ones with the help of their Big Buddies.  If you try this with a younger class I would highly recommend using the simpler template.


Thursday, 8 January 2015

December Art

I know the holidays are over but I just wanted to share some of the wonderful art and crafts that my class did during the month of December.


 Love these salt dough ornaments!  So adorable and easy.  Find the original post here.  We added white iridescent sparkles to ours.  I will definitely do these again!


  Here is my version of the singing reindeer.  Think I would forgo the pipe cleaner antlers for a paper version next time - some of them have sort of an insects vibe :)


We made these paper strip Christmas trees.  Find the original post here.


And last but not least, we made these incredible elves with the help of Rob and his video at Art for Kids Hub.


I hope you all had a wonderful holiday!
Wishing you all the best for 2015!!!

Tuesday, 2 December 2014

Evergreen Trees


 My Grade One class made these patterned evergreen trees today.
 I am loving how they look clustered together on my bulletin board. 


 This was actually a 2 day project.  We spent the first session mixing and painting paper 3 tints of green by adding white to our green paint.  On day two we cut out large triangles and used chalk to make different patterns on each tree. White construction paper was used for the snow and chalk was also used to make snowflakes.


Saturday, 7 December 2013

Carolers

I happen upon these photos this past summer cleaning out a basement closet.  This is a craft I have repeated a number of times.  But this was my first attempt - my best guess is 2001!  In this photo the pine cone carollers are painted various colours.  But in other versions I chose to have the kids paint them white and add a bit of silver glitter.  They also used brown pipe cleaners for the arms to make them look like snowmen.  They always turned out great.


Caroler display outside the school office.

The heads are made from a Styrofoam balls with sequins (attached with pins) used to create the faces.  The scarves are strips of felt with a slit cut at one end to pull the other end through - no need for tying.  The hats are pipe cleaners twisted round and round and stuck into the back of the head.

Wednesday, 16 January 2013

Snowflake Collage


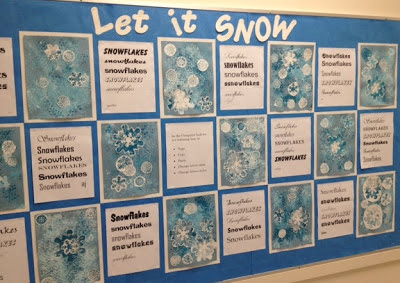
We have been experimenting with different printmaking activities to create these snowflake collages.

We added a computer activity to go along with our art display.
To create these collages we first used bubble wrap to create the background "blizzard".  Students painted blue paint onto their bubble wrap then flipped it over and made a few prints all over their paper.  Then they painted white onto the bubble wrap which created a lighter tint of blue and printed that onto their papers.  They continued with the white paint until they were actually seeing white prints on their papers.


At another station kids used brayers to roll paint onto snowflake stamps.  Some of the stamps I easily made by glueing large foam stamps onto cardboard.  The other smaller snowflakes were ones I bought on sale at Michael's for about 75 cents each.

When everything was dry the students had to carefully cut out their snowflakes.  I asked them to leave a white boarder around each flake and not get the scizzors to cut the paint.

Here are some of their samples:


We also added a word processing component with our display. My kids worked on this during their computer block.  Here is the sign I posted in the middle of the display:
 

Saturday, 12 January 2013

Snowman Families

This was a last minute change of plans for my Friday Buddies activity. My Grade One class is learning about families this term, and this week I taught them the poem Snowman Family by Valerie Schiffer. And then Thursday evening I came across this project on Artsonia and knew I just had to do it.  So when I came in Friday morning I quickly gathered supplies for this new lesson.

We had already discussed the difference between our immediate family and extended family.  Students were asked to recreate their own immediate families out of snowmen and to consider the size of each family member when creating them.

To create a snowman the students used regular white chalk to draw the 3 circles of the snowperson and went over each circle 2 or 3 times.  When each snowperson was done they used a finger to gently smudge the chalk (using a circular motion) into the inside of the circles. 

Then they used oil pastels to create the noses and eyes - making sure to keep the noses within the shape of each head.  Next they cut out each snowperson.  They used templates to trace and cut out the circle and base of the snowglobe.  Then they coloured in the bottom of the snowglobe and added snowflakes.  In hindsight I should have either used white oil pastel or white crayon to colour in the snowglobe as you can see that the chalk left a lot of smudges.

Here are a few more samples:

LinkWithin

You May Also Like

Followers