Showing posts with label Clay. Show all posts

Tuesday, 15 March 2016

Easter Egg Clay Bunnies

This is a project I've been wanting to try with my students for awhile.  Unfortunately we are already on our 2 week spring break and won't get back until after Easter.  I barely managed to squeeze in St. Patrick's day activities.  So I did this project at home with my daughter.  


This bunny head was made using plastic Easter eggs and salt dough.  We used the top (pointy) part.  I first covered the egg with a bit of saran wrap as my eggs had little holes and I wanted to make sure that the eggs slipped out easily afterward.

First we made a nice flat pancake.

Next we draped the pancake over the egg and used our fingers to help it take the shape of the egg.  We used a plastic knife to cut away the excess on the bottom.

Then we added facial features.  We created little balls of clay that we pressed firmly onto the face using a little water to act as our glue.

Then we formed and pressed on ears.  I purposely tried to attach them together as I thought it would be more solid that way.  We also used the end of a paintbrush to poke eyes, but adding big googly eyes after would also be super cute!

We let this dry for a few days until the outside was pretty firm.  The inside was still pretty damp.  Then we removed the plastic egg and saran wrap and I placed it in the oven.  I just put it in after cooking dinner one night and let it dry as the oven cooled.

Finally we painted the bunny using acrylic paints and a black sharpie filled in the eyes.

HAPPY EASTER EVERYONE!


Tuesday, 6 May 2014

Clay Daffodils

They are finally done!  Here are our of finished daffodils!!!


Bird's eye view:

With a candle for our Mother's Day gift:

Happy Mother's Day!!!

Wednesday, 16 April 2014

And now we wait...

I am so disappointed!  

We made these wonderful clay daffodils with another class for spring.  They were supposed to go into our school display case for April and then we were going to wrap them with a tea light candle inside for a Mother's Day gift.  


However, something is terribly wrong with our school's kiln.  During the first firing the kiln made so much noise that the Grade 7 class, where the kiln is located, had to relocate to another room!!!

So now we have to wait for our next in-school professional day to do the second firing, so as not to disturb the class again.  Luckily it is at the end of this month.  So, although they won't get the chance to be displayed, they'll at least be ready to go for Mother's Day.

Here is a bird's eye view:


Can you figure out what we used to help shape them?  We used a snowflake cookie cutter for the bottom and a small pinch pot for the top.

They are glazed and ready to go. Stay tuned for the finished product!

Saturday, 25 January 2014

Polymer Clay Creatures

I haven't posted in a while.  I finally got myself a new laptop, something I probably should have done about 8 months ago but was avoiding...  Anyway, it has been a bit of a learning curve getting accustomed to the new features but I think I'm making progress.

My 9 year old daughter was at home sick yesterday and when she felt up for it we decided to break open her new Polymer Clay kit that she got for her birthday.  She had been experimenting with an older kit previously but this was my first time working with polymer. 

After searching Pinterest for some ideas (and hopefully some tutorials) we managed to create these together:


The first one we made was they Mickey charm, in honor of our upcoming trip to Disneyland.  My kids have never been before so the are very excited!


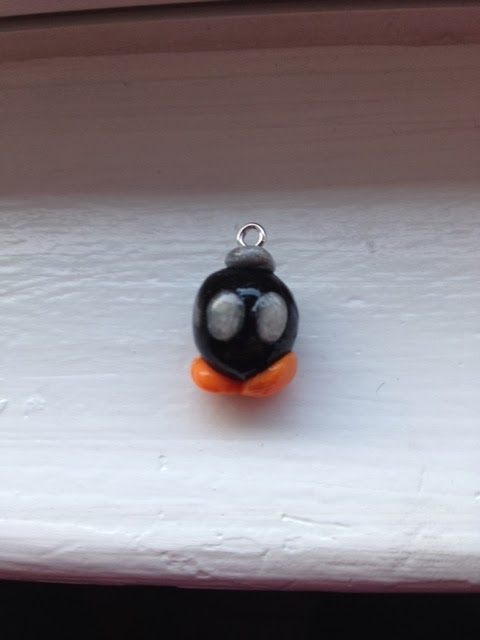
If you are familiar with the Mario Bros. video game, them you'll recognize this guy that my daughter made all by herself:


What was strange was how the white reacted in the different pieces.  The white in the Mickey came out so vibrant but in the cat, Bom Om, and Minion it seemed to take on a pearlized color.  Not sure if it was due to residue on our hands from the silver clay or from 2 different white packages...


It was fun creating these and it sure made up for being stuck inside on a beautiful day!


Tuesday, 1 October 2013

Salt Dough Squirrels


If you liked my salt dough skunks then I hope you'll like these squirrels too!


My Grade 1s and 2s created these cuties with salt dough and following the same steps as the skunks.  Unfortunately I decided on trying a new recipe that did not work in our favor!  The dough was heavier on the flour - I thought that would make it smoother.  And as the squirrels baked the holes in the backs closed in more than I liked.  We also had a few that cracked!  I'll go back to my old recipe and turn down the oven for extra precaution.


We also only used half of the chenille stem as we did with the skunks.  I should have followed the same procedure as before as the tails could have used a bit more fluff.

This student forgot to make ears so we made some out of brown felt.  I think I like it the best!


For a step by step tutorial visit my Salt Dough Skunks

Tuesday, 18 June 2013

Clay Coins


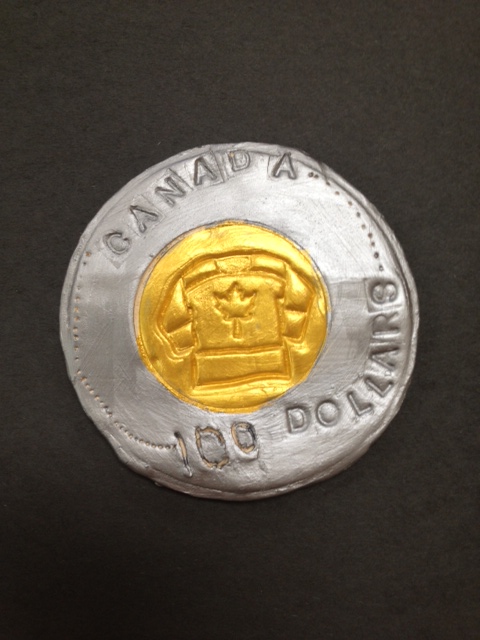
My Grade Ones have been studying the symbols of Canada and I had them design a new Canadian coin to make out of clay.  A couple of years ago when we hosted the 2010 Winter Olympics here in Vanccouver I did a similar project, but we designed Olympic medals.

I have been collecting stamps at Michael's on a regular basis.  You can't beat $1.50 for a rubber stamp (and sometimes I get them even cheaper!)  Amongst my collection I have these wonderful Canadian themed stamps:


I do have a few others but the designs aren't suitable for imprinting in clay.

After looking at the similarities between all our Canadian coins we decided they all neede a picture/symbol, the word Canada, and a value.  Student used small letter set stamps for the words.

We fired the finished coins once and then painted with metalic acrylic paint - which got many ooohs and aaahs!


Sunday, 17 March 2013

Family Clay Tiles


This post actually features 2 ideas I got from Pinterest. 
The first is a clay project I did with my class to go with out Family Unit.  After learning how to attach pieces of clay together, they had to cut our their tile and attach at least one heart (made with cookie cutters).  The idea I got from Pinterest was using pasta letters to make letter impressions.  The idea is that you press the letters in and they will burn off during the first firing in the kiln.  Students used the letters to spell out all members of their immediate family and some decided to include their last names as well.  I have smudged out some of the names for privacy concerns.

WARNING:  What the pins don't tell you is how much it stinks when the pasta is burning away!!!
Luckily for me our school kiln is not in my classroom but now I have to figure out a way to make it up to the grade 7 teacher for putting up with the temporary stench! 


This was the first time trying this technique so I let the kids choose if they wanted to try to keep the letters unglazed or use their brushes to get the glaze right in.  Now I see that I would prefer covering everything with the glaze because the colour is more consistent and it is much easier to read the names.


The second idea has you adding powdered jello or powdered juice to paint to make your art actually smell like the jello/juice.  You can see the original post here.

Our school is starting an amazing program after Spring Break called Project Chef.  As a school we wanted to kick off the program by creating food art for our hallway bulletin boards.  I thought this would be a good opportunity to try it out. 

I changed to activity a little.  We used pastels to outline the strawberry shape and colour in the stems.  We also used pastels to colour in the seeds, instead of gluing on buttons.


It did actually work.  People would come into the classroom and say how nice it smelled.  But after awhile I couldn't smell it at all. I guess I got used to the scent.  I believe the scent didn't last too long though, but if you put the paper up to your face you could definitely smell it.  The kids loved holding their art up to their noses and enjoying the sweet smell!!

Wednesday, 23 January 2013

Clay Owl Ornaments

This clay activity is very popular on Pinterest and I couldn't wait to try it this year.  You can find the easy to follow instuctions on the crafty blog 4 Crazy Kings


We used air-dry clay to create these ornaments.  We also added a few extra details.  We used paperclips to make feather-like impressions on the wings and a wooded skewer to make the feet.  Then we added a paperclip to the top of the head so that we had something to tie our ribbon to.

When they were completely dry they were painted all over with white acrylic paint.  Then the kids had gold and silver paint to use as they wished.  We glued on dollar store gems to the eyes and added the ribbon.

My photos aren't the best as I was in a rush to get a couple of shots of them on my iPhone before they were sent home before the holidays...


Saturday, 11 August 2012

Skunks!!!


Here is an easy craft I that my kids did with me this summer.  My teaching partner and I are planning a nocturnal animals unit for this fall and I have been toying with the idea of making 3D skunks.  My daughter's Littlest Pet Shop skunk was the inspiration for this activity.


You will need:
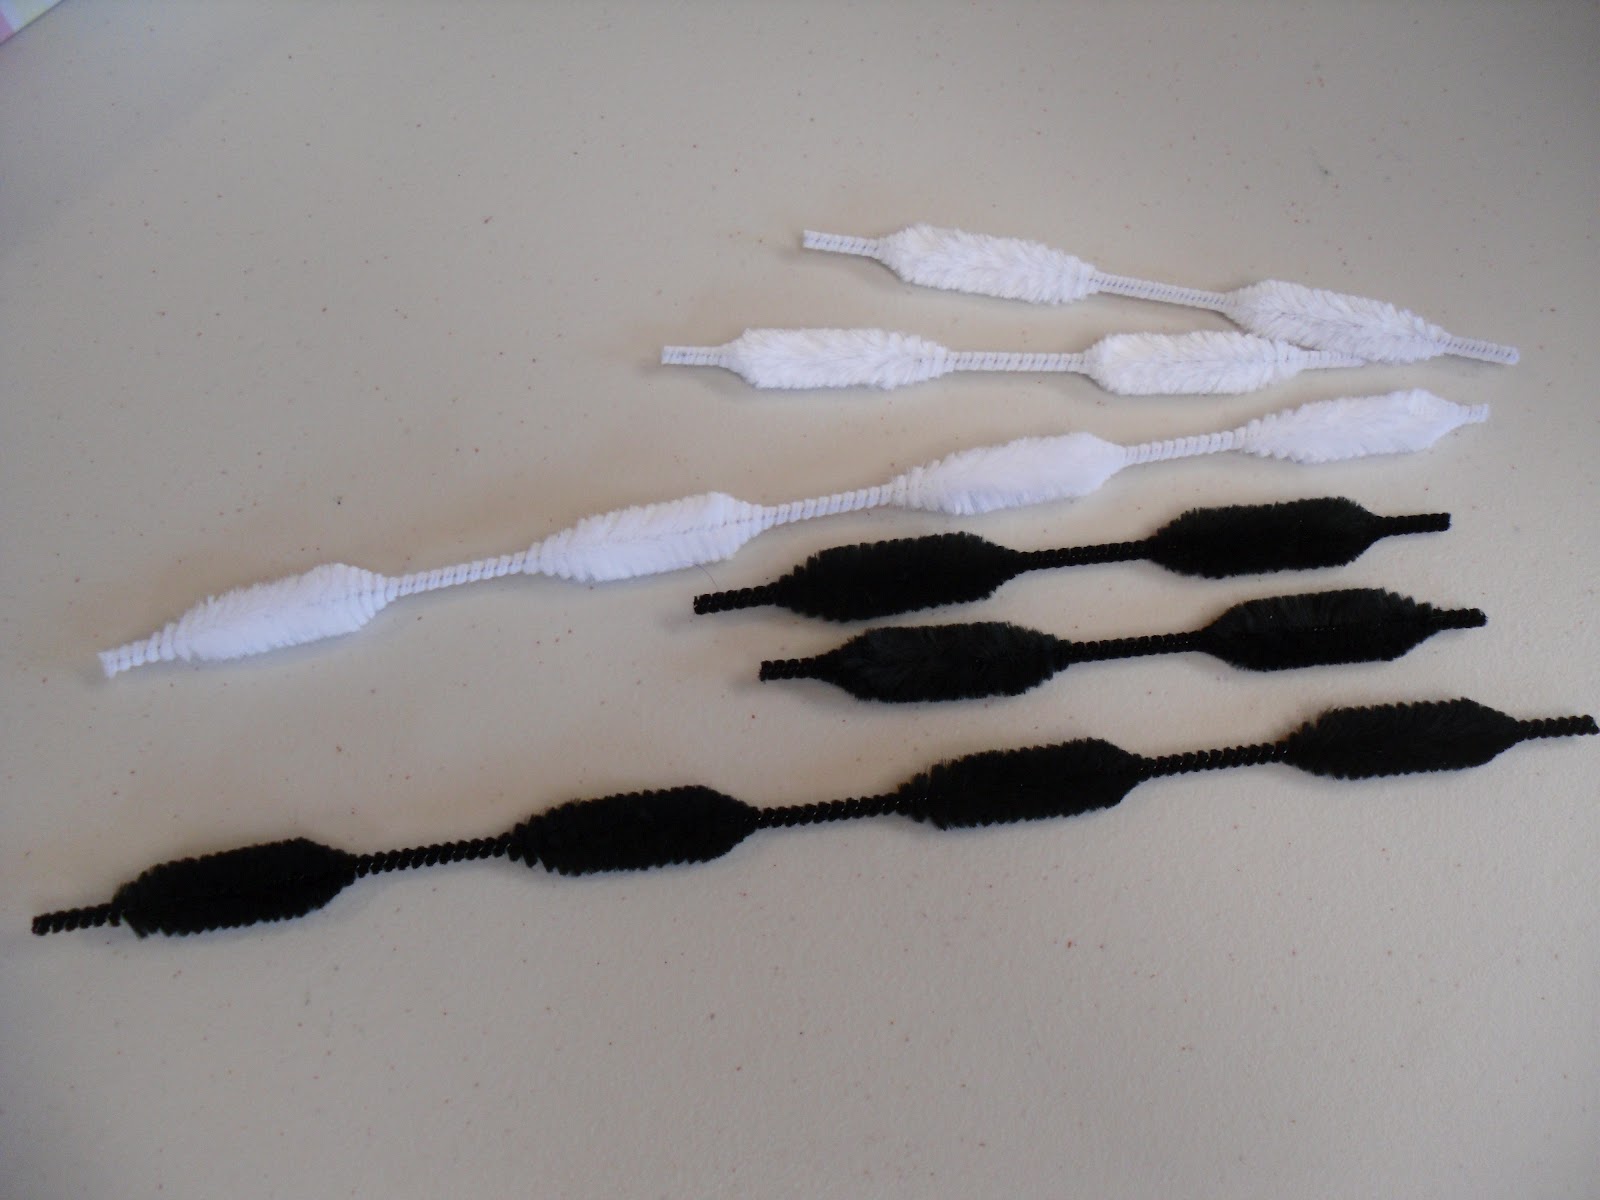
black chenille stems
white chenille stems
black and white acrylic paint
clay or dough
googly eyes (optional)

Step 1:  Make the tail.


Cut the chenille stems in half so that you have sections with 2 puffier parts in each.   Bend one white and one black stem slightly in half. 


Hook the chenille stems together and then wrap the white stem around the black.  


Bend all the ends towards each other.


Twist the loose ends around each other and bend and fluff to create your tail.


Step 2: Make the body.

We used simple salt dough but you could use any air dry clay or dough.  We rolled a little ball of dough into a teardrop shape and flattened it on the bottom.  We pinched the clay to create the ears.  Finally we used a pencil to poke a hole in the skunks backside where the tail will go.


Step 3: Paint

When the clay was completely dry we painted the entire body black.  When the black paint was dry we painted the white stripe, glued on the eyes and added the tail.


This is my daugher's skunk.


How awesome would it be if they really smelled???   I'm considering a nice smelling essential oil or maybe just a smelly sticker on the bottom...


LinkWithin

You May Also Like

Followers